For proper operation of the Ampio alarm module, the following devices are required:
The M-ALARM-8s module is responsible for the alarm outputs and inputs. M-SERV-s is only necessary during the configuration phase using Ampio Designer. M-DOT-M18 serves as a keypad and shows the status of the zones on the display.
Up to 128 sensors can be connected to the alarm module:
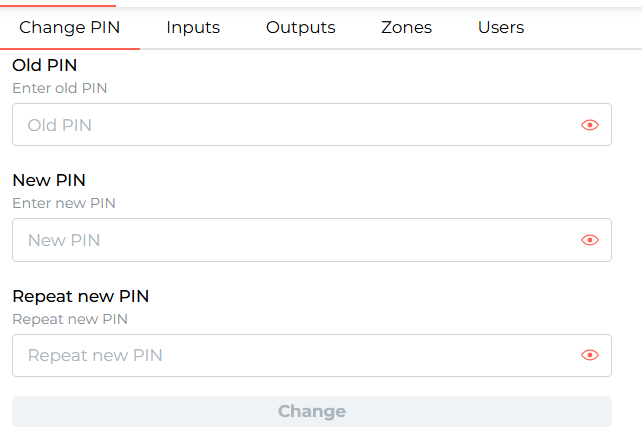
To start setting up the alarm, log into Ampio Designer and enter the cog icon next to the M-ALARM-8s module. The default password for a new product is ‘12345’, which must be changed in the Change PIN sub-tab before commissioning the installation.
 Click to enlarge and open in a new tab.
After entering the code, wait 5-10 seconds for the configuration settings to download.
There are two types of PINs in the M-ALARM-8s module:
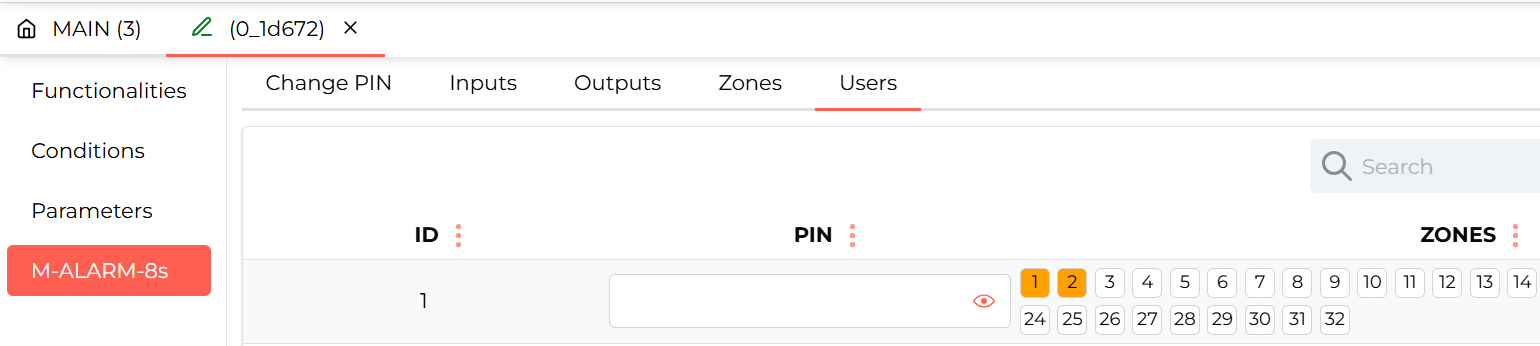
The user PIN is created or edited in the M-ALARM-8s tab Users.
 Click to enlarge and open in a new tab.
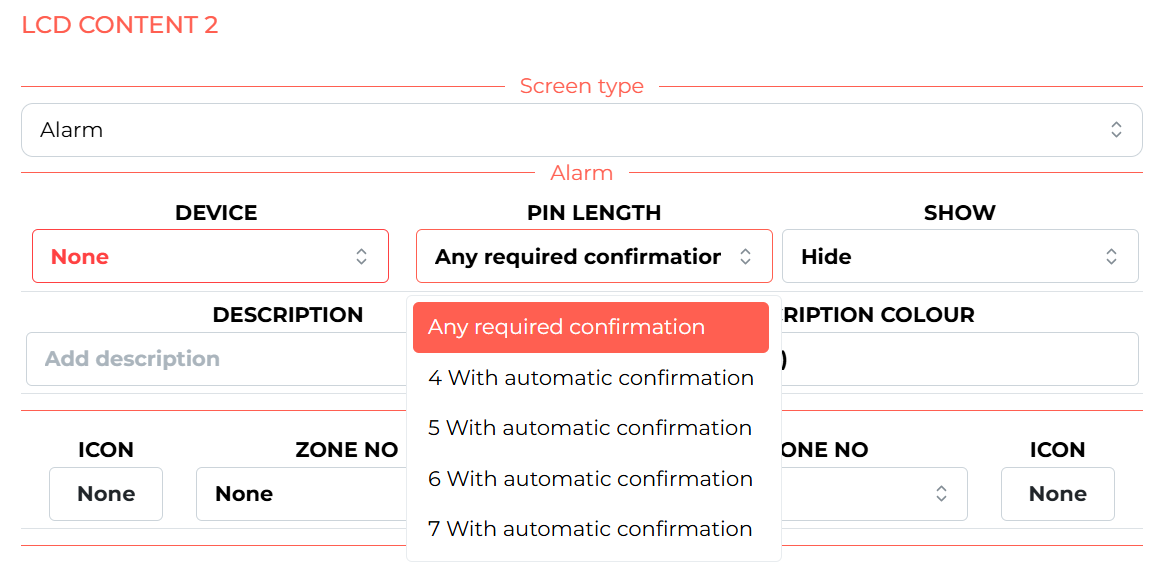
The length of the PIN is 4-8 characters. By default the M-ALARM-8s accepts a PIN after entering 4 characters, if you wish to use longer PINs you should deselect this option in the alarm screen settings on the M-DOT-M18 module. Then, after entering the PIN, confirm with the OK button.
 Click to enlarge and open in a new tab.
Entering the PIN without selecting a zone arms/disarms all the zones of that user. On the other hand, pressing the button next to the zone allows you to select which zone is about to be armed/disarmed.
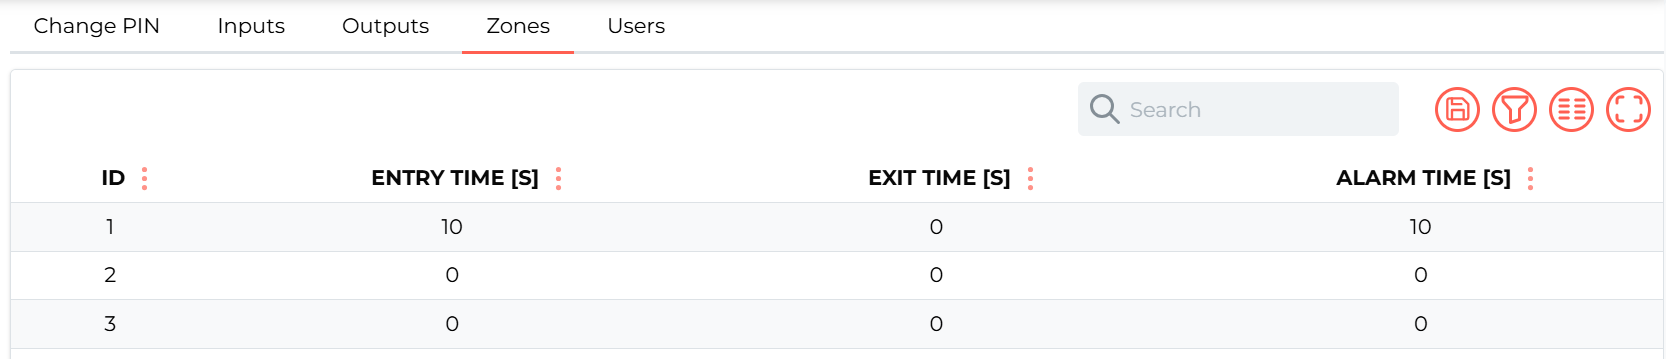
The entry duration, exit duration and alarm duration can be edited for each alarm zone.
 Click to enlarge and open in a new tab.
The module’s inputs have configurable types and functions. To add a mapping to a new virtual input, select the + icon in the top right corner and select the appropriate source.
 Click to enlarge and open in a new tab.
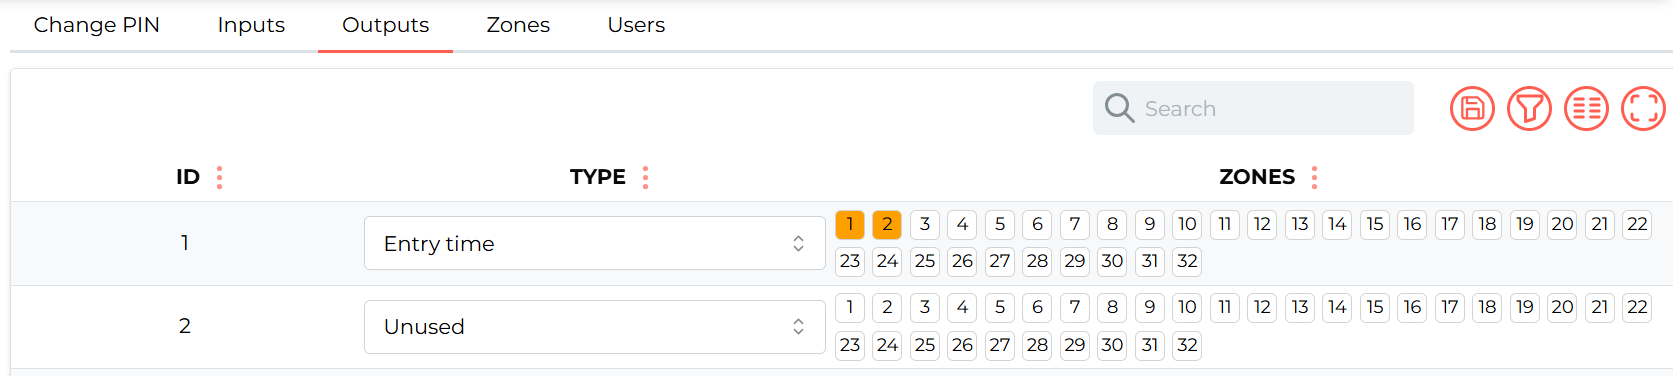
In the outputs, it is possible to change the type and assign the outputs to the corresponding zones.
 Click to enlarge and open in a new tab.
The MAC addresses of modules configured to work with the M-ALARM-8s module cannot be changed at any stage of configuration.
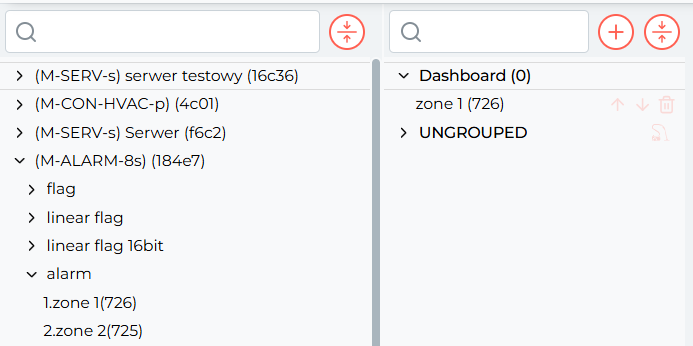
To arm or disarm respective zones from the Ampio UNI app, drag the zones to the desired group in the LOGIC tab.
 Click to enlarge and open in a new tab.
This allows the zone to be armed or disarmed from the Ampio UNI mobile app.
The alarm zones are armed using user PINs, not the master PIN.